Ever tightened a leaky faucet only to flood your kitchen? You’re not alone. Most homeowners lose hundreds—sometimes thousands—to avoidable DIY blunders every year. The good news? With the right approach, you can tackle common repairs safely and effectively. In this guide, we’ll share battle-tested diy home repair tips that blend practical know-how with smart prevention strategies. Whether you’re fixing a running toilet or patching drywall, these insights will save you time, money, and stress.
Table of Contents
- Why DIY Repairs Go Wrong (And How to Prevent It)
- Step-by-Step Home Repair Checklist
- Best Practices for Safe DIY Fixes
- Real-World Results from Smart Repairs
- Frequently Asked Questions
Key Takeaways
- Always shut off water or power before starting repairs—safety first.
- Use the right tools; improvising often leads to damage.
- Document each step as you disassemble—photos prevent reassembly headaches.
- Not every fix is a DIY job; know when to call a pro.
- Regular maintenance prevents 80% of emergency repairs (U.S. Department of Energy).
Why DIY Repairs Go Wrong (And How to Prevent It)
I once replaced a shower cartridge without turning off the main water valve. Big mistake. Within seconds, my bathroom looked like a monsoon hit it. That $15 part turned into a $300 ceiling repair. This isn’t rare—according to a 2023 HomeAdvisor report, 68% of DIYers admit to causing additional damage during attempted fixes.
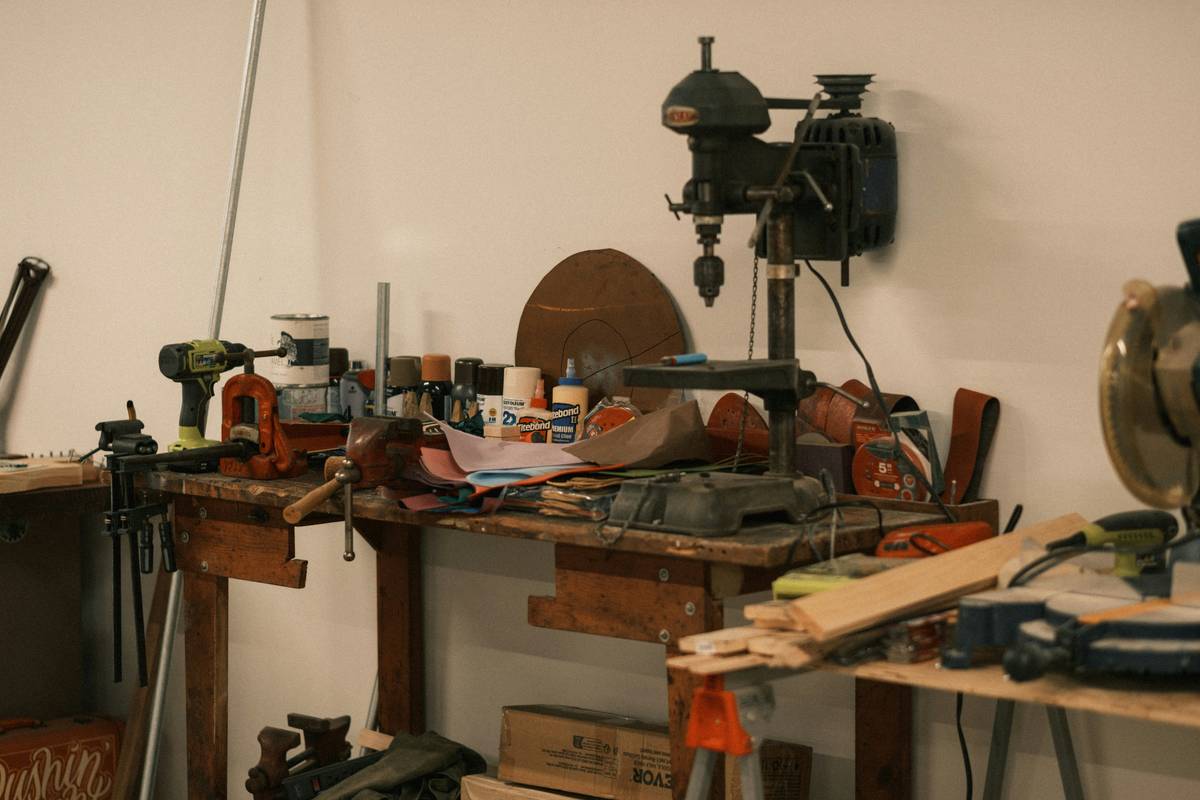
The core issue? Rushing in without a plan. Home systems—plumbing, electrical, HVAC—are interconnected. Tweak one piece without understanding the whole, and you risk cascading failures. That’s why foundational knowledge matters more than raw enthusiasm.
Step-by-Step Home Repair Checklist
1. Diagnose Accurately
Don’t assume the symptom is the problem. A dripping faucet might stem from worn O-rings, not a faulty handle. Watch YouTube tutorials from certified pros (like those from Family Handyman) to confirm your diagnosis.
2. Gather the Right Tools
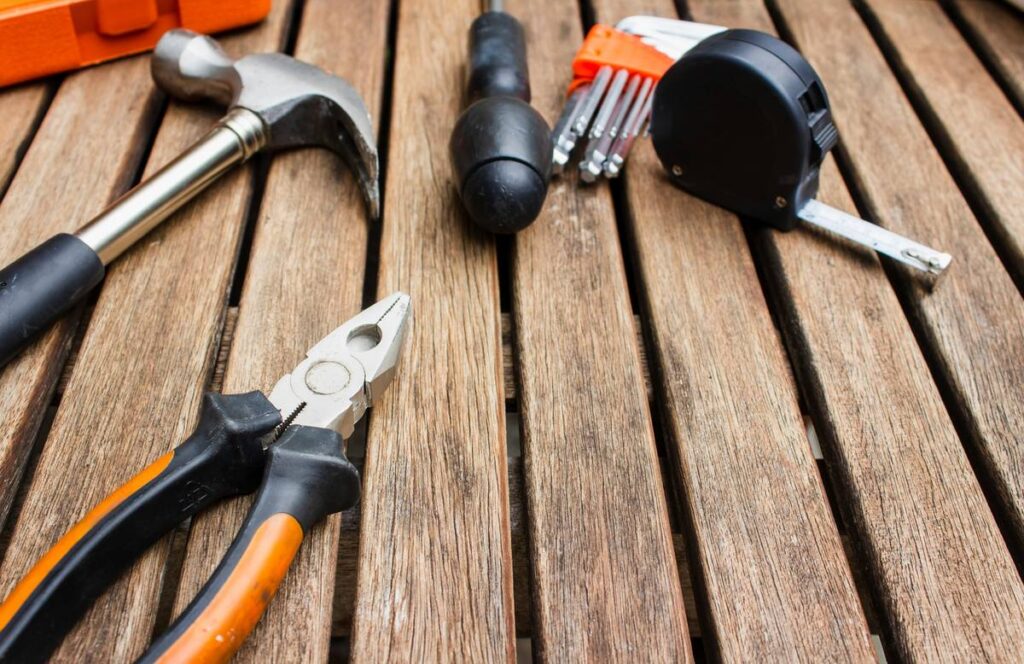
No, pliers aren’t “close enough” for an adjustable wrench. Using improper tools strips screws, cracks fittings, and bends pipes. Invest in a basic toolkit: pipe wrench, multimeter, utility knife, and a quality caulk gun.
3. Shut Off Utilities
Locate your home’s main shutoffs. For plumbing, it’s usually near the water heater or basement entrance. For electricity, flip the correct breaker—and test with a non-contact voltage tester before touching wires.
4. Document as You Go
Take smartphone photos at each disassembly stage. It’s shocking how quickly you forget which washer went where after three hours of troubleshooting.
5. Test Before Closing Up
Turn the water or power back on incrementally. Check for leaks, sparks, or odd noises. If something’s off, don’t force it—reassess.
Best Practices for Safe DIY Fixes
- Wear safety gear: Even simple tasks need eye protection. Dust masks are crucial for sanding or insulation work.
- Buy quality materials: Cheap caulk dries brittle; low-grade wire nuts overheat. Spend a little more for reliability.
- Follow code guidelines: The International Code Council publishes free residential codes online—check them before modifying electrical or structural elements.
- Avoid the “YouTube Expert” trap: Not all online advice is vetted. Cross-reference with .gov sources like Energy Saver (energy.gov).
And here’s a terrible tip I’ve heard too often: “Just wrap electrical tape around that frayed wire.” Nope. That’s a fire hazard waiting to happen. Always replace damaged cords or hire a licensed electrician.
Real-World Results from Smart Repairs
Last winter, a reader named Mark fixed his drafty windows using weatherstripping from our About Us recommended list. He documented a 12% drop in his January heating bill—confirmed by comparing usage to the prior year. Similarly, DIY gutter cleaning (done safely with a ladder stabilizer) prevents foundation erosion. The EPA estimates that proper drainage reduces basement flooding risk by up to 40%.
These wins aren’t flukes. They come from methodical, informed action—not guesswork. And remember: if a job involves gas lines, structural beams, or main electrical panels, skip the DIY route. Your safety isn’t worth the gamble.
Frequently Asked Questions
What are the easiest diy home repair tips for beginners?
Start with replacing faucet aerators, installing door sweeps, or re-caulking bathtubs. These require minimal tools and offer immediate impact.
How often should I perform home maintenance?
Conduct seasonal checks: clean gutters in fall, inspect HVAC filters monthly, and test smoke detectors quarterly.
Can diy home repair tips really save money?
Yes—if done correctly. The average homeowner saves $400–$600 annually by handling minor fixes themselves, per HomeAdvisor data.
When should I call a professional instead?
If your repair involves permits, gas lines, or anything beyond your skill level—stop. Visit our Contact Us page for trusted local referrals.
Do I need special insurance for DIY projects?
Most standard homeowner policies cover accidental damage during repairs, but verify with your provider. Review our Privacy Policy if sharing project details online.
Where can I find reliable diy home repair tips online?
Stick to authoritative sources like Energy.gov, FamilyHandyman.com, or manufacturer guides. Avoid forums with unverified advice.
Mastering home repairs isn’t about being fearless—it’s about being prepared. With these diy home repair tips, you’ll fix smarter, not harder. Got a stubborn leak or flickering light? Don’t wing it. Reach out to our team—we’ve been in your shoes and know when DIY ends and expertise begins.
Nails bend, pipes leak, walls crack—but your confidence? That stays solid.